
Throw Food For Animals Upgrades: What to Buy First
Plan your Throw Food For Animals upgrades with tips on pull-up bars, better food, animal slots, and paid boosts. Spend your cash where progress needs it.
Jump to

What Should You Upgrade First?
Choose your Throw Food For Animals upgrades around your current obstacle: short throws, weak catches, or a full plot. Pull-up stands build Throw Power, better food attracts rarer animals, and extra animal slots give you room for more earners. Target the purchase that helps you move past that obstacle instead of buying whatever becomes affordable.
Use this spending checklist:
- Struggling to reach another area? Upgrade your pull-up bar, then train before throwing again.
- Reaching your target area but chasing rarer animals? Buy better food.
- Getting valuable catches with nowhere to place them? Use Equip Best, then consider a capacity upgrade.
- Still displaying animals with tiny payouts? Replace those earners before spending heavily on more space.
Keep throwing between training sessions. Animals generate the money that pays for food and equipment, so a stronger catch can change what you can afford next.
Official page: Throw Food For Animals (roblox.com)
Upgrade Your Pull-Up Bar to Build Throw Power
The pull-up bar is your training equipment. Doing pull-ups increases your strength and Throw Power, letting you throw food farther and reach areas with stronger animals.
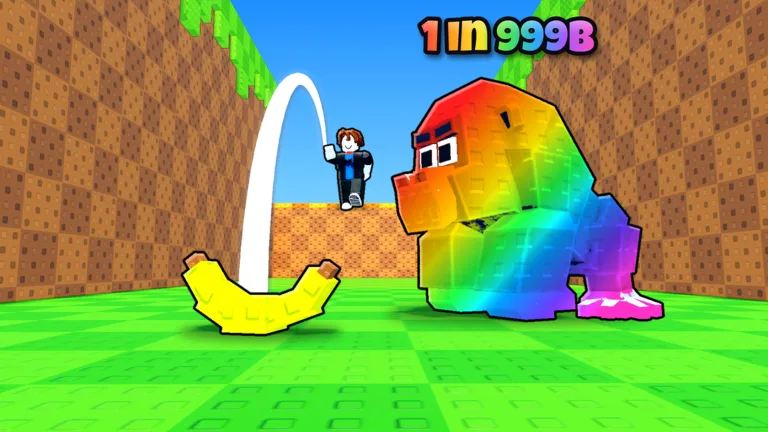 Image: Roblox / Goofy Chupacabra
Bar upgrades make training faster. Progression includes equipment such as the Wooden bar, steel bar, and obsidian bar, with more advanced bars available farther along.
After buying a bar, spend time using it before judging your throwing distance. The purchase improves your training; pull-ups build the power you take into the next throw.
Aim for the perfect +20 timing result when testing your progress. Comparing a near-perfect throw with a weaker attempt makes it harder to judge how much your training helped.
Avoid treating a particular level as a required destination. Train, make a well-timed throw, and use where the food lands to decide whether you need another training session. If you are already reaching a productive area, catch more animals there while saving for the next purchase.
Buy Better Food to Chase Rarer Animals
Food upgrades improve your chances of attracting rarer animals. Your starting carrot gives way to options such as apple, banana, toast, and increasingly expensive foods.
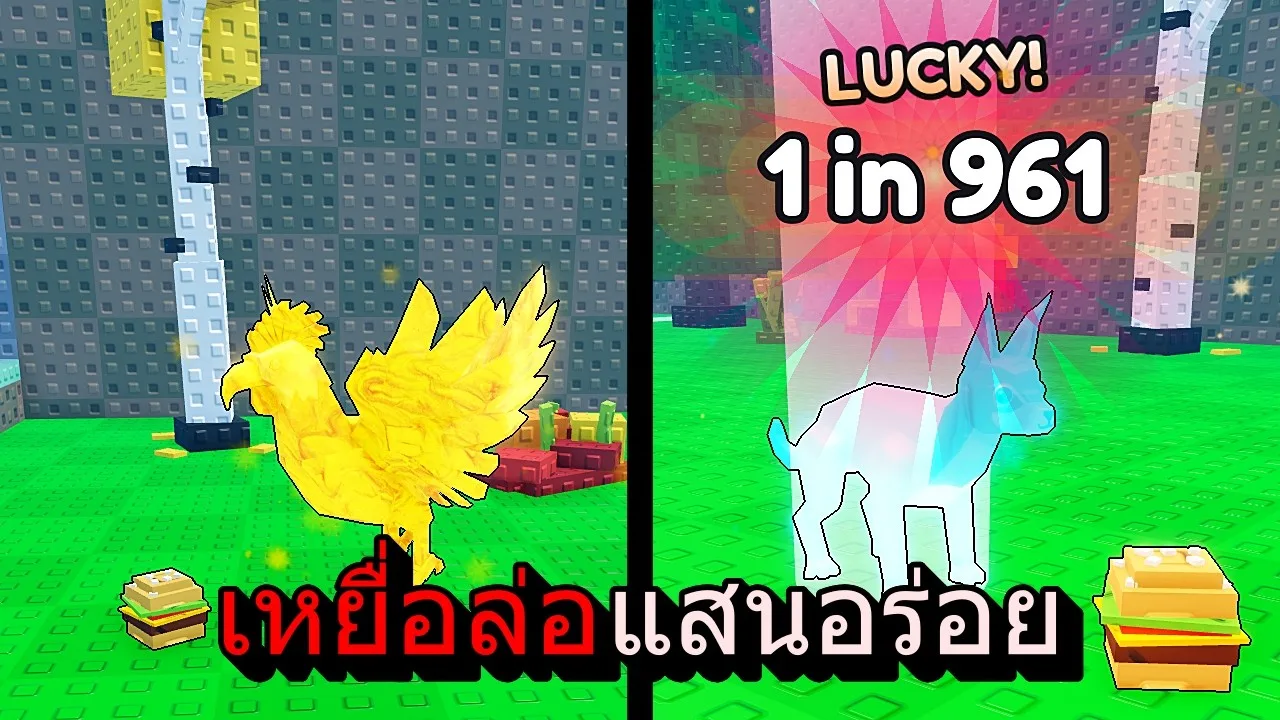
Several purchases illustrate how quickly the cash requirements rise:
| Food | Cash price |
|---|---|
| Apple | 30 |
| Bread loaf | 12 million |
| Watermelon | 60 million |
| Croissant | 650 million |
| Chocolate | 3.2 billion |
| Mushroom | 30 billion |
Treat food and training as complementary purchases. Better food helps with animal rarity, while Throw Power helps you reach farther areas.
Do not expect every food purchase to produce an immediate income increase. Animal rolls still differ: an ocean mantis shrimp can earn 30 million per second, while a seahorse can earn 20 million per second. Getting the seahorse after upgrading your food does not make it the stronger earner.
Compare each catch’s actual payout before replacing an animal. Rarity, size, and mutation can make a catch exciting, but the income number tells you what it contributes to your next upgrade.
Upgrade Animal Capacity When Your Plot Needs It
A full plot creates a different spending problem: catching another animal does not automatically mean you have room to display it.

Open Animals and use Equip Best to put your stronger earners to work. Revisit that option after a valuable catch, especially when your plot still contains animals from earlier areas.
Capacity upgrades provide additional room, and you can expand to 20 animals. An early expansion costs 40 million and adds space for two more.
Before paying for more slots, compare the animals already placed with those waiting in your inventory. If your plot contains low-paying catches and you have stronger replacements, use those replacements immediately. If your existing slots already hold your strongest animals and another valuable catch is waiting, buy more capacity.
Keep the distinction between collection rarity and earning power in mind. A spectacular rarity number does not automatically beat an animal from a later area on cash production.
Understand Paid Boosts Before Spending Robux
Two permanent game passes speed up different parts of progression:
- x2 Training Power — 149 Robux: doubles XP from every pull-up.
- x2 Cash — 99 Robux: doubles cash earned from every animal.
Choose around the activity you want to accelerate. Use the training pass to get more XP from your pull-up sessions; use the cash pass to increase animal earnings.
The Halloween Pumpkin Monster works differently. Its income scales to 900% of your best animal’s income. With a koala earning 300,000 per second, the monster earns 2.7 million per second. A stronger best animal raises that payout, so keep improving your regular catches even after buying it.
Separate income purchases from luck purchases. Server luck and lucky throws target your catches, while cash and training boosts affect earnings and training.
If you buy lucky throws, activate the lucky-throw option before launching. Purchasing them and making a normal throw are separate actions—select the boost before committing the throw.
Continue with
 Throw Food For Animals Food Shop: All 38 Food PricesExplore the Throw Food For Animals food shop with prices for all 38 foods across 16 tiers, plus tips to balance food upgrades, training, and animal income.
More in Food & Upgrades
Throw Food For Animals Game Passes: Prices and Perks
Compare Throw Food For Animals game passes, including x2 Cash and x2 Training Power. See Robux prices and what each permanent boost adds to your progress.
Throw Food For Animals Luck Boosts: How to Use Them
Learn how Throw Food For Animals luck boosts work, activate Lucky Throws, use server luck, and improve your animal collection with smarter upgrade choices.
Continue exploring
Join the community
Official channels for news, updates and player help: