
Throw Food For Animals Progression: Get Rich Faster
Speed up Throw Food For Animals progression with food upgrades, pull-up training, stronger animal income, and practical tips for reaching new areas faster.
Jump to
How to Progress in Throw Food For Animals
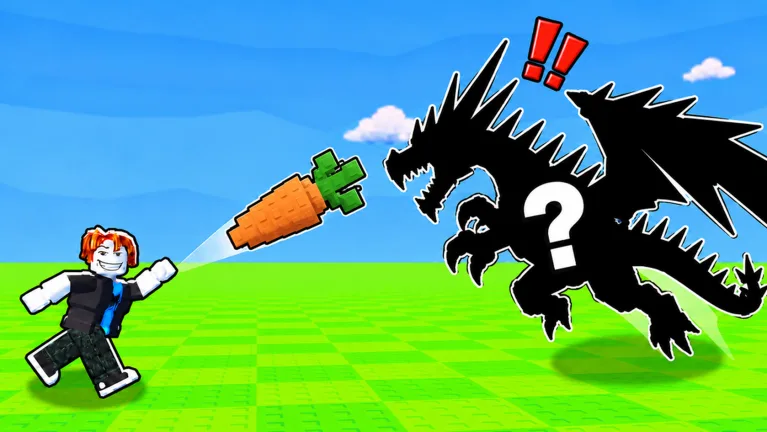
Your next area can turn a modest animal collection into a much bigger payday. Throw Food For Animals progression revolves around a simple loop: collect animals, use their income to upgrade food and training equipment, then throw farther to reach stronger animals. Keep those upgrades moving together so your cash, Throw Power, and collection grow alongside each other.
The core loop works like this:
- Throw food and collect animals. Animals earn money that funds your upgrades.
- Place your stronger animals. Use Equip Best to update your lineup after valuable catches.
- Upgrade your pull-up bar. Train on it to build Throw Power.
- Buy better food. Higher food upgrades help attract rarer animals.
- Throw again and push into new areas. Compare each catch’s income with the animals already earning money on your plot.
Choose your next purchase around what is slowing you down. If your throws keep landing short of the next area, upgrade your bar and train. If you can reach an area but want rarer catches, work through the food upgrades. If your plot still contains weak starter animals, make more throws and replace them.
Official page: Throw Food For Animals (roblox.com)
Early Game: Turn Starter Animals Into Upgrade Money
You begin with a carrot, and an early frog earns $2 per second. The apple costs 30, giving you an immediate purchase to work toward while you start training on the wooden bar.
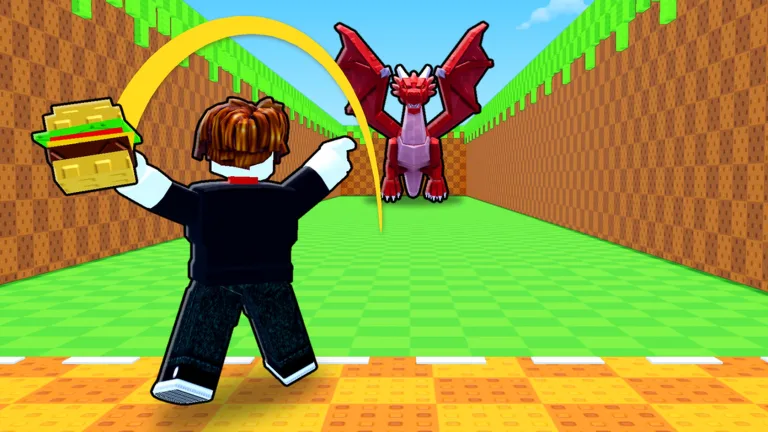 Image: Roblox / Goofy Chupacabra
Alternate between throws and pull-ups. Standing at the bar increases your strength, while collecting animals builds the income needed for better equipment and food. Buying a bar upgrade is only part of the process: return to it and train before testing your next throw.
Aim for the timing meter’s perfect +20 result. A near-perfect throw can still move you forward, but hitting the top timing result helps when you are close to an area boundary.
Food upgrades encountered early include apple, banana, toast, and orange. Keep checking their prices alongside the next bar upgrade rather than spending every payout in one shop.
Before settling into a long training session:
- Place newly collected animals so they contribute income.
- Use Equip Best after a stronger catch.
- Check whether your next food or bar upgrade is affordable.
- Make another throw after training to see whether you can reach farther.
New Areas Bring Bigger Income Opportunities
An animal’s rarity does not tell you everything about its earning power. Animals from later areas can outproduce much rarer catches from earlier ones.
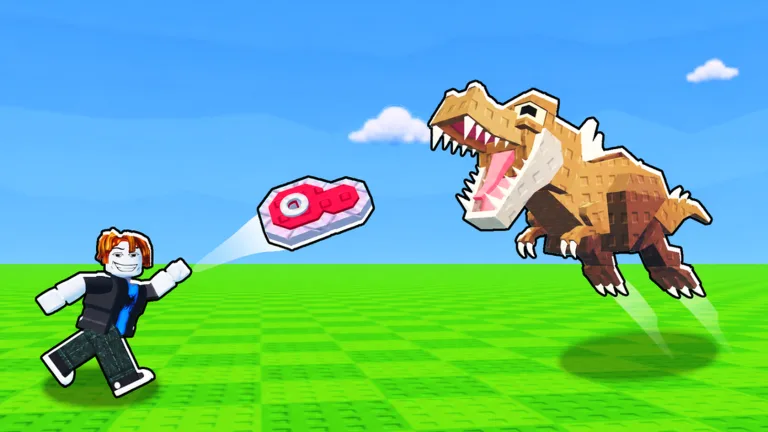 Image: Roblox / Goofy Chupacabra
For example, a Ruby Quawker earning 1.6k per second can be overtaken by a Gold lion earning 3.1k per second. Compare the cash rate before deciding which animal deserves a place on your plot.
These catches illustrate how sharply income can rise as you advance:
| Area | Animal example | Income per second |
|---|---|---|
| Forest | Gold mutated kookaburra | $12 |
| Savannah | Zebra | $320 |
| Desert | Jackal | $18,000 |
| Jungle | Gorilla | 1.5 million |
| Ocean | Mantis shrimp | 30 million |
| Mountains | Thunderbird | 800 million |
| Taiga | Wolf | 20 billion |
These are individual catch examples, not guaranteed payouts for reaching each area. Animal type, mutation, and size affect what you bring home.
Push toward a new area when your current catches offer only small improvements. Once you reach it, make several throws to replace weaker animals across your plot. One strong animal helps; a lineup full of stronger earners funds upgrades much faster.
Balance Food Upgrades With Pull-Up Training
Better food and stronger throws handle different parts of progression. Food helps attract rarer animals, while pull-up training increases Throw Power so you can reach farther areas.
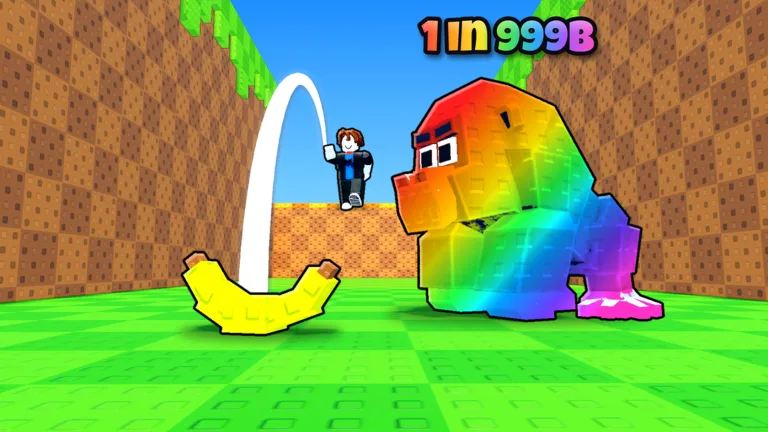 Image: Roblox / Goofy Chupacabra
The food shop stretches well beyond starter fruit. Later purchases include bread loaf, watermelon, croissant, chocolate, mushroom, bacon, and burger, with much more beyond them.
Some useful price checkpoints are:
| Food | Price |
|---|---|
| Apple | 30 |
| Bread loaf | $12 million |
| Watermelon | 60 million |
| Croissant | 650 million |
| Chocolate | 3.2 billion |
| Mushroom | 30 billion |
| Bacon | 150 billion |
| Burger | 1.3 trillion |
Use those prices to plan your next purchase, but keep checking the bar upgrade too. Buying an expensive food does not replace the training needed to reach a farther zone.
When you are barely missing an area boundary, return to the bar and train before throwing again. When you have just entered an area, collect more animals there while their income builds toward your next purchase.
Avoid treating a particular level as a guaranteed area unlock. Your immediate target is the distance needed to land in the next area, so judge progress by where your throws actually reach.
Keep Your Plot Filled With Strong Earners
A full plot can hide a major slowdown: old animals may still occupy spaces that newer catches could use more profitably.
Open your animals menu and select Equip Best after meaningful upgrades. Check the resulting lineup, especially after entering a new area. Starter animals earning hundreds per second contribute very little once your catches earn millions.
You can also buy additional animal capacity. Expand when you have worthwhile animals ready to fill those spaces, and compare that cost with your next food or bar purchase.
Mutations and sizes create another reason to check actual income. In the ocean, for example:
- A mantis shrimp earns 30 million per second.
- A gold mantis shrimp earns 45 million per second.
- A big seahorse earns 41 million per second.
Keep the higher earner even when another catch looks more dramatic. Sell weak surplus animals only after checking their value against your equipped lineup.
Paid Boosts, Halloween Animals, and Leaderboard Goals
The standard progression loop uses animal income, food purchases, and pull-up training. Robux purchases can accelerate that loop substantially, so avoid using a spending-heavy run as your expected pace.
Two permanent game passes offer straightforward boosts:
- x2 Training Power — 149 Robux: doubles XP from every pull-up.
- x2 Cash — 99 Robux: doubles cash from every animal.
The Halloween shop also includes the Pumpkin Monster, which earns 900% of your best animal’s income. That means a best animal earning $300,000 per second supports a Pumpkin Monster earning 2.7 million per second. Improving your strongest animal therefore increases this event animal’s output too.
Lucky Throws require activation before the throw. Check that the option is active after purchasing them rather than assuming the next throw automatically uses one.
Farther into the game, areas include Deep Waters, Shadow Realm, Harvest Fields, and Phantom Harbor. Food upgrades eventually reach Phantom Lobster, while collecting valuable mutations and larger animals gives you reasons to keep throwing after reaching the final area.
If you are chasing the money leaderboard, remember that it tracks total money earned, not cash per second. Build your income lineup for sustained earnings, and check the leaderboard’s actual total before deciding how close you are to a position.
Continue with
 Throw Food For Animals Beginner Guide: Progress FasterUse this Throw Food For Animals beginner guide to train Throw Power, upgrade food, equip stronger animals, and build cash income as you reach new areas.
More in Getting Started
Throw Food For Animals Leaderboard: How to Climb Fast
Climb the Throw Food For Animals leaderboard by building animal income, upgrading food and training power, and choosing the right ranking to chase next.
Throw Food For Animals Money: How to Earn Cash Faster
Grow your Throw Food For Animals money with stronger animals, smarter food upgrades, and better training. Learn how to boost cash without wasting Robux.
Continue exploring
Join the community
Official channels for news, updates and player help: