Throw Food For Animals Catch Animals: Beginner Guide
Throw Food For Animals catch animals guide: learn how food, Throw Power, mutations, and plot upgrades help you collect stronger animals and earn more cash.
Jump to
How to Catch Animals in Throw Food For Animals
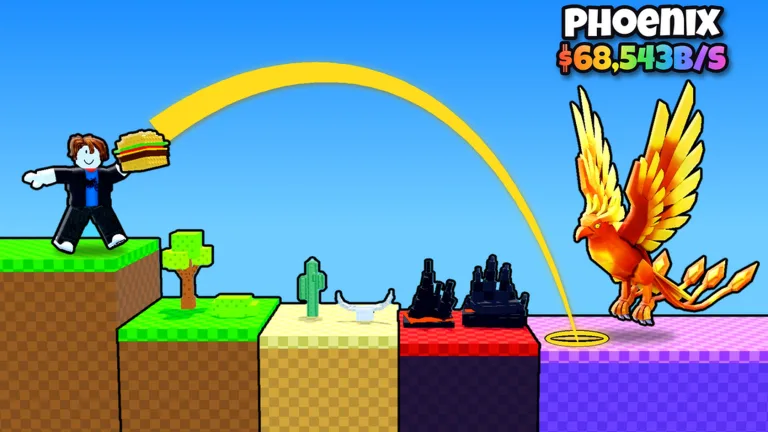
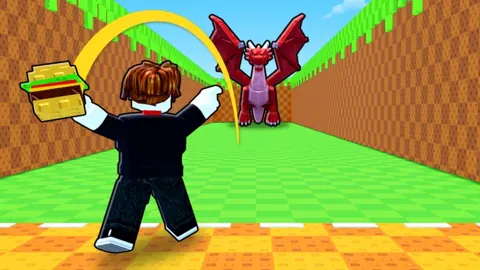
The Throw Food For Animals catch animals loop turns each food toss into a chance to grow your collection. Animals earn cash on your plot, giving you money for better food and training equipment. To reach stronger animals, build Throw Power, improve your throw timing, and keep replacing weaker earners.
Start with this sequence:
- Throw your food. Use the throwing interaction and aim for the Perfect result, which gives +20 power on the throw.
- Collect the animal it attracts. Your landing area determines which area's animals you encounter.
- Place the animal on your plot. Its cash-per-second income helps fund your next upgrades.
- Train on a pull-up stand. Pull-ups increase your Throw Power so you can throw farther.
- Upgrade your food and stand. Better food attracts rarer animals, while stronger training equipment helps you build power faster.
You begin with a carrot. Early food purchases include an apple and banana, followed by options such as toast and orange as your income grows.
Official page: Throw Food For Animals (roblox.com)
Balance Better Food With Pull-Up Training
Food and training solve different problems. Better food helps attract rarer animals; Throw Power helps you reach more distant areas. Keep both moving instead of pouring every purchase into one upgrade path.
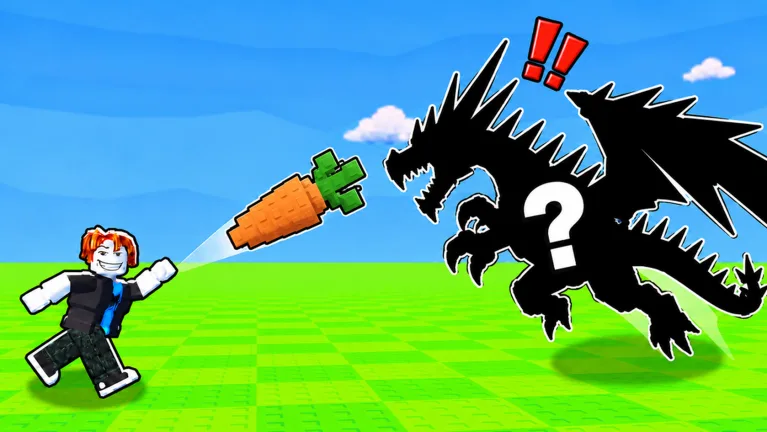 Image: Roblox / Goofy Chupacabra
If your throws keep landing in the same area, upgrade your pull-up stand and train before trying again. Improving your timing also matters when you're close to an area's boundary: aim for Perfect rather than settling for an almost-perfect throw.
If you're reaching an area comfortably, make several catches there and improve your food. Those extra animals can replace older earners and help pay for the next round of upgrades.
Training stands progress through equipment such as the wooden bar, steel bar, and obsidian bar. Later equipment makes leveling much faster, so revisit the stand upgrades as your animal income increases.
Use your actual landing distance to decide when to throw again. There is no need to copy a particular training level when your current food, equipment, and purchases differ.
Reach New Areas for Stronger Animals
Moving into another area can change your income dramatically. The early route takes you through the Forest, Savannah, Desert, Jungle, Ocean, and Mountains.
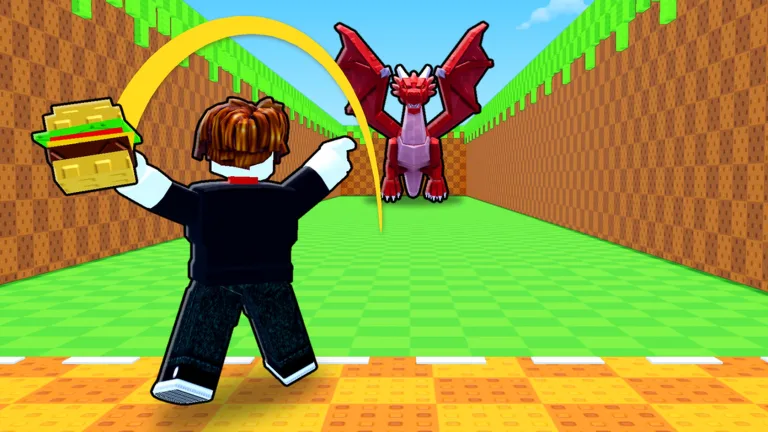 Image: Roblox / Goofy Chupacabra
Each area brings different animals:
- Savannah: Zebra, lion, and elephant.
- Jungle: Bat, lizard, parrot, koala, and gorilla.
- Ocean: Mantis shrimp and seahorse.
- Mountains: Thunderbird, bull, and Griffin.
Later areas include Taiga and Deep Waters. Deep Waters contains animals such as the whale, Megalodon, and Kraken.
Don't leave an area's earning potential behind after a single catch. Repeated throws can give you additional animals to replace the weakest members of your plot, even before you reach another zone.
Check the animal index to see which entries you have collected. Use it to track missing animals while you work toward the next area.
Compare Income Before Rarity
A dramatic catch animation or an enormous rarity number does not automatically mean the animal will become your strongest earner. Compare its cash-per-second value with the animals already on your plot.
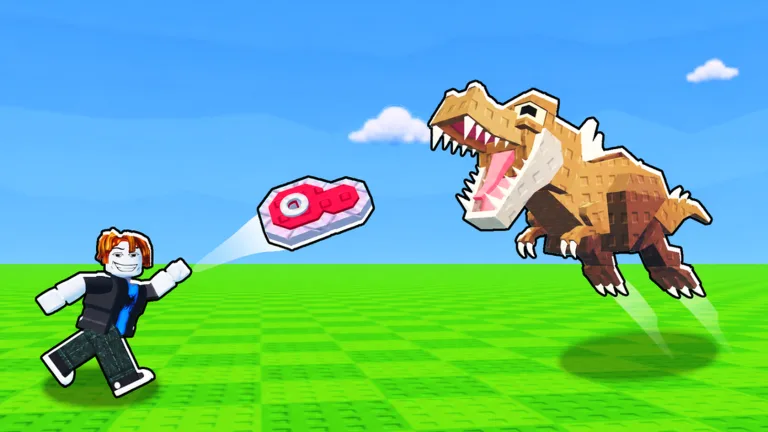 Image: Roblox / Goofy Chupacabra
A rare catch from an earlier area can earn less than a more ordinary animal from a later one. For example, a Ruby Quawker with displayed odds around one in 444,000 earned 1.6k per second, while a gold lion earned 3.1k per second.
Mutations and size variants also affect the result. Ocean catches illustrate why checking the income number matters:
| Animal variant | Cash per second |
|---|---|
| Mantis shrimp | 30 million |
| Gold mantis shrimp | 45 million |
| Seahorse | 20 million |
| Big seahorse | 41 million |
The Big seahorse earns more than the regular mantis shrimp, while the gold mantis shrimp earns more than either.
Compare the displayed income whenever you catch a new variant. Keep collection goals separate from income decisions: a missing index entry can be worth collecting even when it doesn't improve your active lineup.
Fix a Full Plot With Equip Best and Slot Upgrades
When your plot fills up, open Animals and use Equip Best to update your active lineup. This is especially useful after reaching another area, where new catches can outclass animals you collected much earlier.
An early animal earning hundreds per second contributes little beside an Ocean animal earning millions. Replace those weaker earners instead of leaving them active while stronger catches sit in your backpack.
Plot capacity can also be upgraded. Additional slots let you place more animals and increase the number of earners working at once.
Before buying capacity, compare the displayed slot cost with your available food and training upgrades. Replace weak animals through Equip Best, then decide whether more space or another progression upgrade deserves your cash.
Understand Optional Boosts Before Buying
The regular progression loop uses animal income, food purchases, and pull-up training. Paid boosts accelerate specific parts of that loop.
Two permanent passes have straightforward effects:
| Game pass | Price | Effect |
|---|---|---|
| x2 Training Power | 149 Robux | Double XP from every pull-up |
| x2 Cash | 99 Robux | Double cash from every animal |
These passes improve training or earnings; they do not guarantee a particular catch.
During the Halloween event, the Pumpkin Monster scales its income to 900% of your best animal's income. A best animal earning 30 million per second corresponds to a Pumpkin Monster earning 270 million per second. Its scaling makes improvements to your strongest animal especially significant.
Lucky throws are another separate boost. Activate a lucky throw before launching rather than assuming that purchasing it automatically applies it to your next attempt.
Keep paid acceleration in mind when setting expectations for progression. Runs using purchased strength, cash, lucky throws, and scaling Halloween animals can advance far faster than the standard training-and-catching loop.
Continue with
 Throw Food For Animals Equip Animals: Earn More CashThrow Food For Animals equip animals guide: use Equip Best, replace low earners, and expand your plot to put stronger catches to work earning more cash.
More in Animals
Throw Food For Animals Most Expensive Pet: Endgame Guide
Chasing Throw Food For Animals most expensive pet? Compare Ghost Pirate variants, income, and Pumpkin Monster boosts before spending your Robux on luck.
Throw Food For Animals Mutations: Traits and Sizes
Explore Throw Food For Animals mutations, including Gold, Ruby, Rainbow, and size traits. Compare animal income and learn how to use luck boosts in game.
Throw Food For Animals Rarest Animals: Catch Guide
Discover Throw Food For Animals rarest animals, including Ghost Pirate variants, rarity numbers, and the food and training upgrades that fuel your hunt.
Continue exploring
Join the community
Official channels for news, updates and player help: